
Moving out is stressful enough without worrying about whether you’ll get your security deposit back. Between packing boxes, coordinating movers, and handling paperwork, cleaning your rental often gets pushed to the last minute. But here’s the reality: a thorough move-out cleaning isn’t optional—it’s usually required in your lease agreement, and skipping it could cost you hundreds of dollars in deductions. That’s why we’ve created this complete moving out cleaning checklist to help you tackle every room systematically and get your full deposit back. And if you’re wondering how to clean efficiently while juggling the chaos of a moving day, STOMO Storage’s portable containers can help by giving you the space to work without boxes in the way.
Why Move-Out Cleaning Matters
When you signed your lease, you likely agreed to return the property in the same condition you found it—minus normal wear and tear. This is where move-out cleaning becomes critical. Landlords and property managers expect more than a quick sweep; they’re looking for a deep clean that covers everything from baseboards to ceiling fans. If your rental doesn’t meet their standards during the final walk-through, they can legally deduct cleaning costs from your security deposit. In some cases, poor cleaning can even affect your rental history, making it harder to secure future apartments. The good news? A solid cleaning checklist helps you avoid these issues entirely.
Before You Start: Essential Prep
The secret to efficient move-out cleaning? Start with an empty space. Trying to clean around furniture and boxes wastes time and leaves spots you’ll miss. This is where portable storage becomes a game-changer—load your belongings into a STOMO Storage container first, then tackle the cleaning without obstacles. You’ll also need the right supplies: all-purpose cleaner, glass cleaner, microfiber cloths, a vacuum, mop, scrub brushes, and rubber gloves. Pro tip: always clean from top to bottom—start with ceiling fans and light fixtures, then work your way down to baseboards and floors. This prevents dust from settling on already-cleaned surfaces.
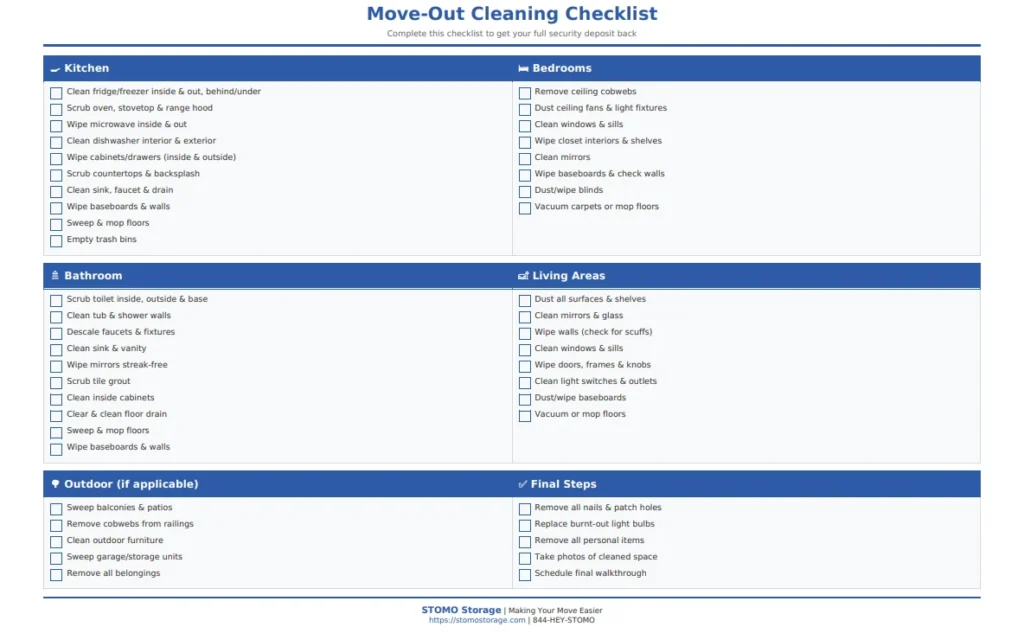
Complete Move-Out Cleaning Checklist
Kitchen Cleaning Checklist
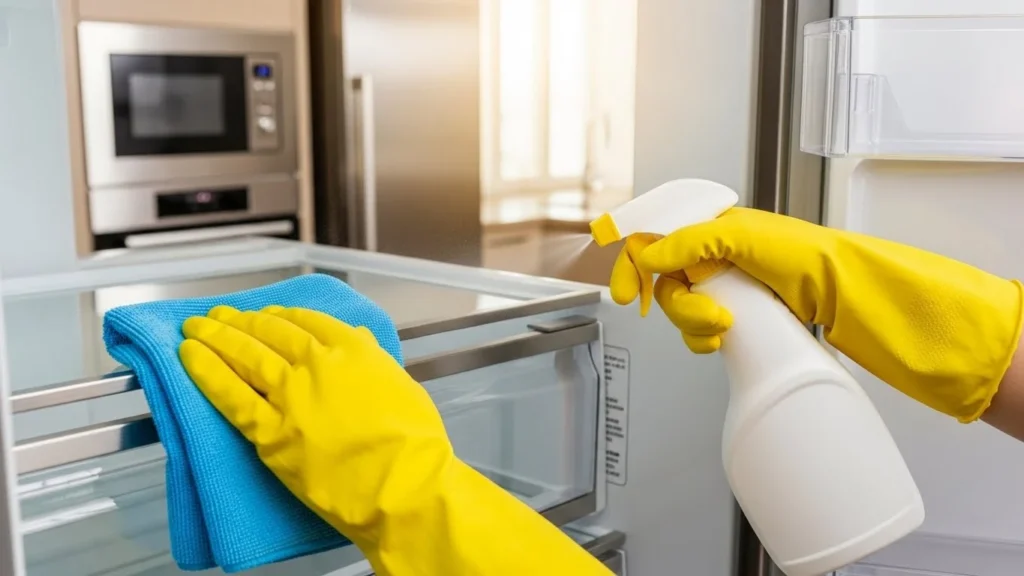
The kitchen typically requires the most attention during move-out cleaning because grease, food splatters, and grime accumulate over time. Start by tackling your appliances—they’re what landlords inspect most carefully. Pull out your refrigerator and stove to clean behind and underneath them, not just the visible surfaces. Empty the fridge completely, wipe down all shelves and drawers, and don’t forget to defrost the freezer if needed. For the oven, use a degreaser or baking soda paste to scrub away baked-on food. Clean your dishwasher by running an empty cycle with vinegar, then wipe down the exterior and control panel. Here’s your complete kitchen checklist:
✓ Clean inside and outside of refrigerator, freezer, and behind/underneath
✓ Scrub oven, stovetop, and range hood (including filter)
✓ Wipe microwave inside and out
✓ Clean dishwasher interior and exterior
✓ Wipe down all cabinets and drawers (inside and outside)
✓ Scrub countertops and backsplash
✓ Clean sink, faucet, and drain
✓ Wipe baseboards and walls for grease marks
✓ Sweep and mop floors thoroughly
✓ Empty trash and recycling bins
Bathroom Cleaning Checklist
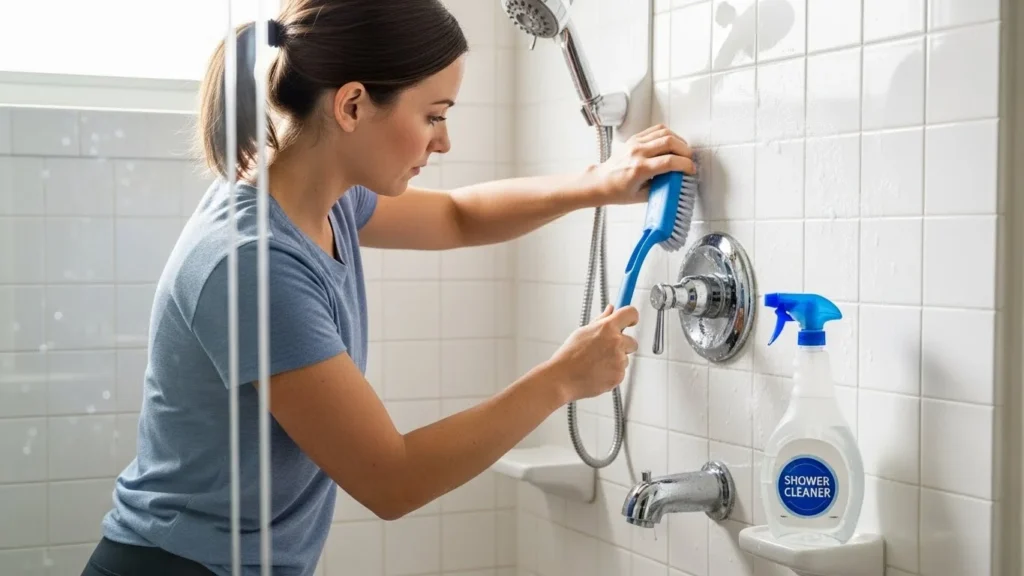
Bathrooms need special attention for hygiene reasons, and landlords expect them to be spotless. The key challenge here is removing soap scum, hard water stains, and mildew that build up over time. Start by applying cleaning products to surfaces that need extra dwell time—like the toilet bowl and shower tiles—then move on to other tasks while the cleaners work. Use a descaling solution or vinegar for faucets and showerheads to remove mineral deposits. Don’t forget to check grout lines; scrub them with a brush if they’re discolored. Pull out any removable parts like shower caddies or drain covers to clean underneath. Here’s your bathroom checklist:
✓ Scrub toilet inside and outside, including base and behind
✓ Clean bathtub and shower walls, removing soap scum
✓ Descale and polish all faucets and fixtures
✓ Clean sink and vanity countertops
✓ Wipe mirrors streak-free
✓ Scrub tile grout and remove mildew
✓ Clean inside cabinets and drawers
✓ Clear and clean floor drain
✓ Sweep and mop floors
✓ Wipe down baseboards and walls
Bedroom Cleaning Checklist
Bedrooms are typically easier to clean than kitchens and bathrooms, but they still require thorough attention. The main focus areas are dust accumulation, closet interiors, and spots that were hidden by furniture. Start by dusting from the top down—ceiling corners for cobwebs, then light fixtures and ceiling fans. Pay special attention to closets; wipe down shelves, hanging rods, and the floor inside. Check walls and baseboards for marks or scuffs, especially in areas where bed frames or dressers sat. Windows and blinds often collect dust, so give them a good wipe. Here’s your bedroom checklist:
✓ Remove cobwebs from ceiling corners
✓ Dust ceiling fans and light fixtures
✓ Clean windows inside and window sills
✓ Wipe down closet interiors and shelves
✓ Clean mirrors
✓ Wipe baseboards and check for wall marks
✓ Dust or wipe blinds
✓ Vacuum carpets or sweep and mop hard floors
Living Areas Cleaning Checklist
Living rooms, dining areas, hallways, and entryways all fall under this category and need the same level of attention as private spaces. These high-traffic areas often show more wear, with scuff marks on walls, dirt in corners, and dust buildup along baseboards. Look carefully at spots that were covered by couches, entertainment centers, or dining tables—you might find marks or discoloration that need addressing. Don’t overlook door frames, light switches, and doorknobs; these get touched constantly and collect grime. If you have a fireplace, make sure to remove all ash and wipe down the surround. Here’s your living areas checklist:
✓ Dust all surfaces including shelves and mantels
✓ Clean mirrors and any glass surfaces
✓ Wipe down walls, checking for scuffs and marks
✓ Clean windows and window sills
✓ Wipe door frames, doors, and doorknobs
✓ Clean light switches and outlet covers
✓ Dust and wipe baseboards thoroughly
✓ Vacuum carpets or sweep and mop hard floors
Outdoor Spaces Cleaning Checklist (if applicable)
If your rental includes a balcony, patio, garage, or storage unit, these spaces need cleaning too. Sweep away leaves, dirt, and debris. Wipe down railings and remove any cobwebs. Make sure to clear out all personal belongings from storage areas and garages, leaving them completely empty.
✓ Sweep balconies and patios
✓ Remove cobwebs from railings and corners
✓ Clean outdoor furniture if included
✓ Sweep and clear garage or storage units
✓ Remove all personal belongings
Common Move-Out Cleaning Mistakes to Avoid
Even with a checklist, certain areas get overlooked during move-out cleaning. One of the biggest mistakes is forgetting to clean behind and under appliances—landlords will check these spots during the walkthrough. Another common issue is leaving burnt-out light bulbs; replacing them costs just a few dollars but can result in deductions if you don’t. Many tenants also rush through the cleaning in the final hours before handing over keys, which leads to missed spots and sloppy work. Wall damage is another pitfall—remove all nails, fill holes with spackle, and touch up paint if needed. Finally, don’t forget to take photos after you’ve finished cleaning. These time-stamped images serve as proof of the property’s condition and protect you if disputes arise about your deposit.
Move-Out Cleaning Timeline & Tips
Timing is everything when it comes to move-out cleaning. Don’t wait until the day before you hand over keys—start at least one week in advance. Begin with spaces you’re not using daily, like storage areas, basements, or guest rooms. As you pack up each room, clean it immediately while it’s empty. This prevents the overwhelming task of cleaning your entire place in one exhausting session. For a typical apartment, expect to spend 3-4 hours on a thorough cleaning; larger homes may take 6-8 hours or more. Work during daylight hours when possible so you can see dirt and dust clearly. Set a timer for focused 30-minute cleaning bursts to stay motivated and track progress. Most importantly, document everything with photos during your final walkthrough with the landlord.
Cleaning Tools & Supplies You Need
Having the right supplies on hand prevents mid-cleaning trips to the store. Stock up on all-purpose cleaner, glass cleaner, bathroom disinfectant, and a degreaser for the kitchen. You’ll also need microfiber cloths, scrub brushes, a vacuum with attachments, a mop, rubber gloves, and garbage bags. For tough jobs, keep baking soda and white vinegar handy—they work wonders on grout, drains, and baked-on grime. Consider natural cleaning products to minimize exposure to harsh chemicals during hours of cleaning work.
DIY vs. Professional Move-Out Cleaning
Deciding whether to clean yourself or hire professionals depends on your budget, timeline, and stress level. DIY cleaning saves money—you’ll only spend $30-50 on supplies—but requires 4-8 hours of physical work. Professional move-out cleaning services typically cost between $150-400 depending on your home’s size and condition. A 1,000-1,500 square foot apartment averages $200-300, while larger homes can run $350-450. Hiring pros makes sense if you’re short on time, physically unable to do deep cleaning, or want guaranteed results to protect your deposit. However, be sure to vet cleaning companies carefully and read reviews—not all services deliver the same quality. Some landlords may even require professional cleaning as part of your lease, so check your agreement before deciding.
How STOMO Storage Makes Move-Out Cleaning Easier
Here’s a practical solution many renters overlook: using portable storage during your move-out cleaning. STOMO Storage delivers a container right to your location, allowing you to pack and load your belongings first, then clean the empty space without working around furniture and boxes. This approach is far more efficient—you won’t miss spots hidden behind couches or struggle to mop around packed boxes. Our flexible scheduling means you can take your time with both packing and cleaning without the pressure of same-day truck rentals. Plus, with built-in storage options, you can stage your move at your own pace while ensuring your rental gets the deep clean it needs for deposit return.
Conclusion
A thorough move-out cleaning protects your security deposit and leaves you on good terms with your landlord. By following this checklist room by room, you’ll cover every detail landlords inspect during the final walkthrough. Remember to start early, work systematically from top to bottom, and document your work with photos. Need help managing the moving process while you clean? STOMO Storage’s portable containers give you the flexibility to pack, clean, and move at your own pace. Contact us today to see how we can simplify your move and help you leave your rental spotless.
Move-Out Cleaning Checklist FAQs
How long does move-out cleaning take?
For a typical one-bedroom apartment, expect 3-4 hours. Larger homes or properties in poor condition may require 6-8 hours or more.
How much does professional move-out cleaning cost?
Average costs range from $150-400 depending on size. A 1,000-1,500 sq ft home typically costs $200-300, while 2,000+ sq ft homes can reach $400 or more.
Should I clean before or after moving?
Always clean after moving out when the space is completely empty. You’ll clean more thoroughly and efficiently without furniture or boxes in the way.
What is included in move-out cleaning?
A complete deep clean of all rooms including appliances, cabinets, bathrooms, floors, windows, and baseboards—essentially returning the property to move-in condition.
Do I need to hire professional cleaners?
Not unless your lease requires it. Most tenants can handle move-out cleaning themselves with proper supplies and enough time.